

Setup & Configuration
How to set up Inventory Sync between MYOB Acumatica and Shopify
Inventory Sync allows you to synchronise your Shopify store with MYOB Acumatica for efficient inventory management.
Written By: Mark Fordham
Last Updated on June 19, 2023
Step 1: Download the customisation package
Download the customisation package ZIP archive: click here to download.
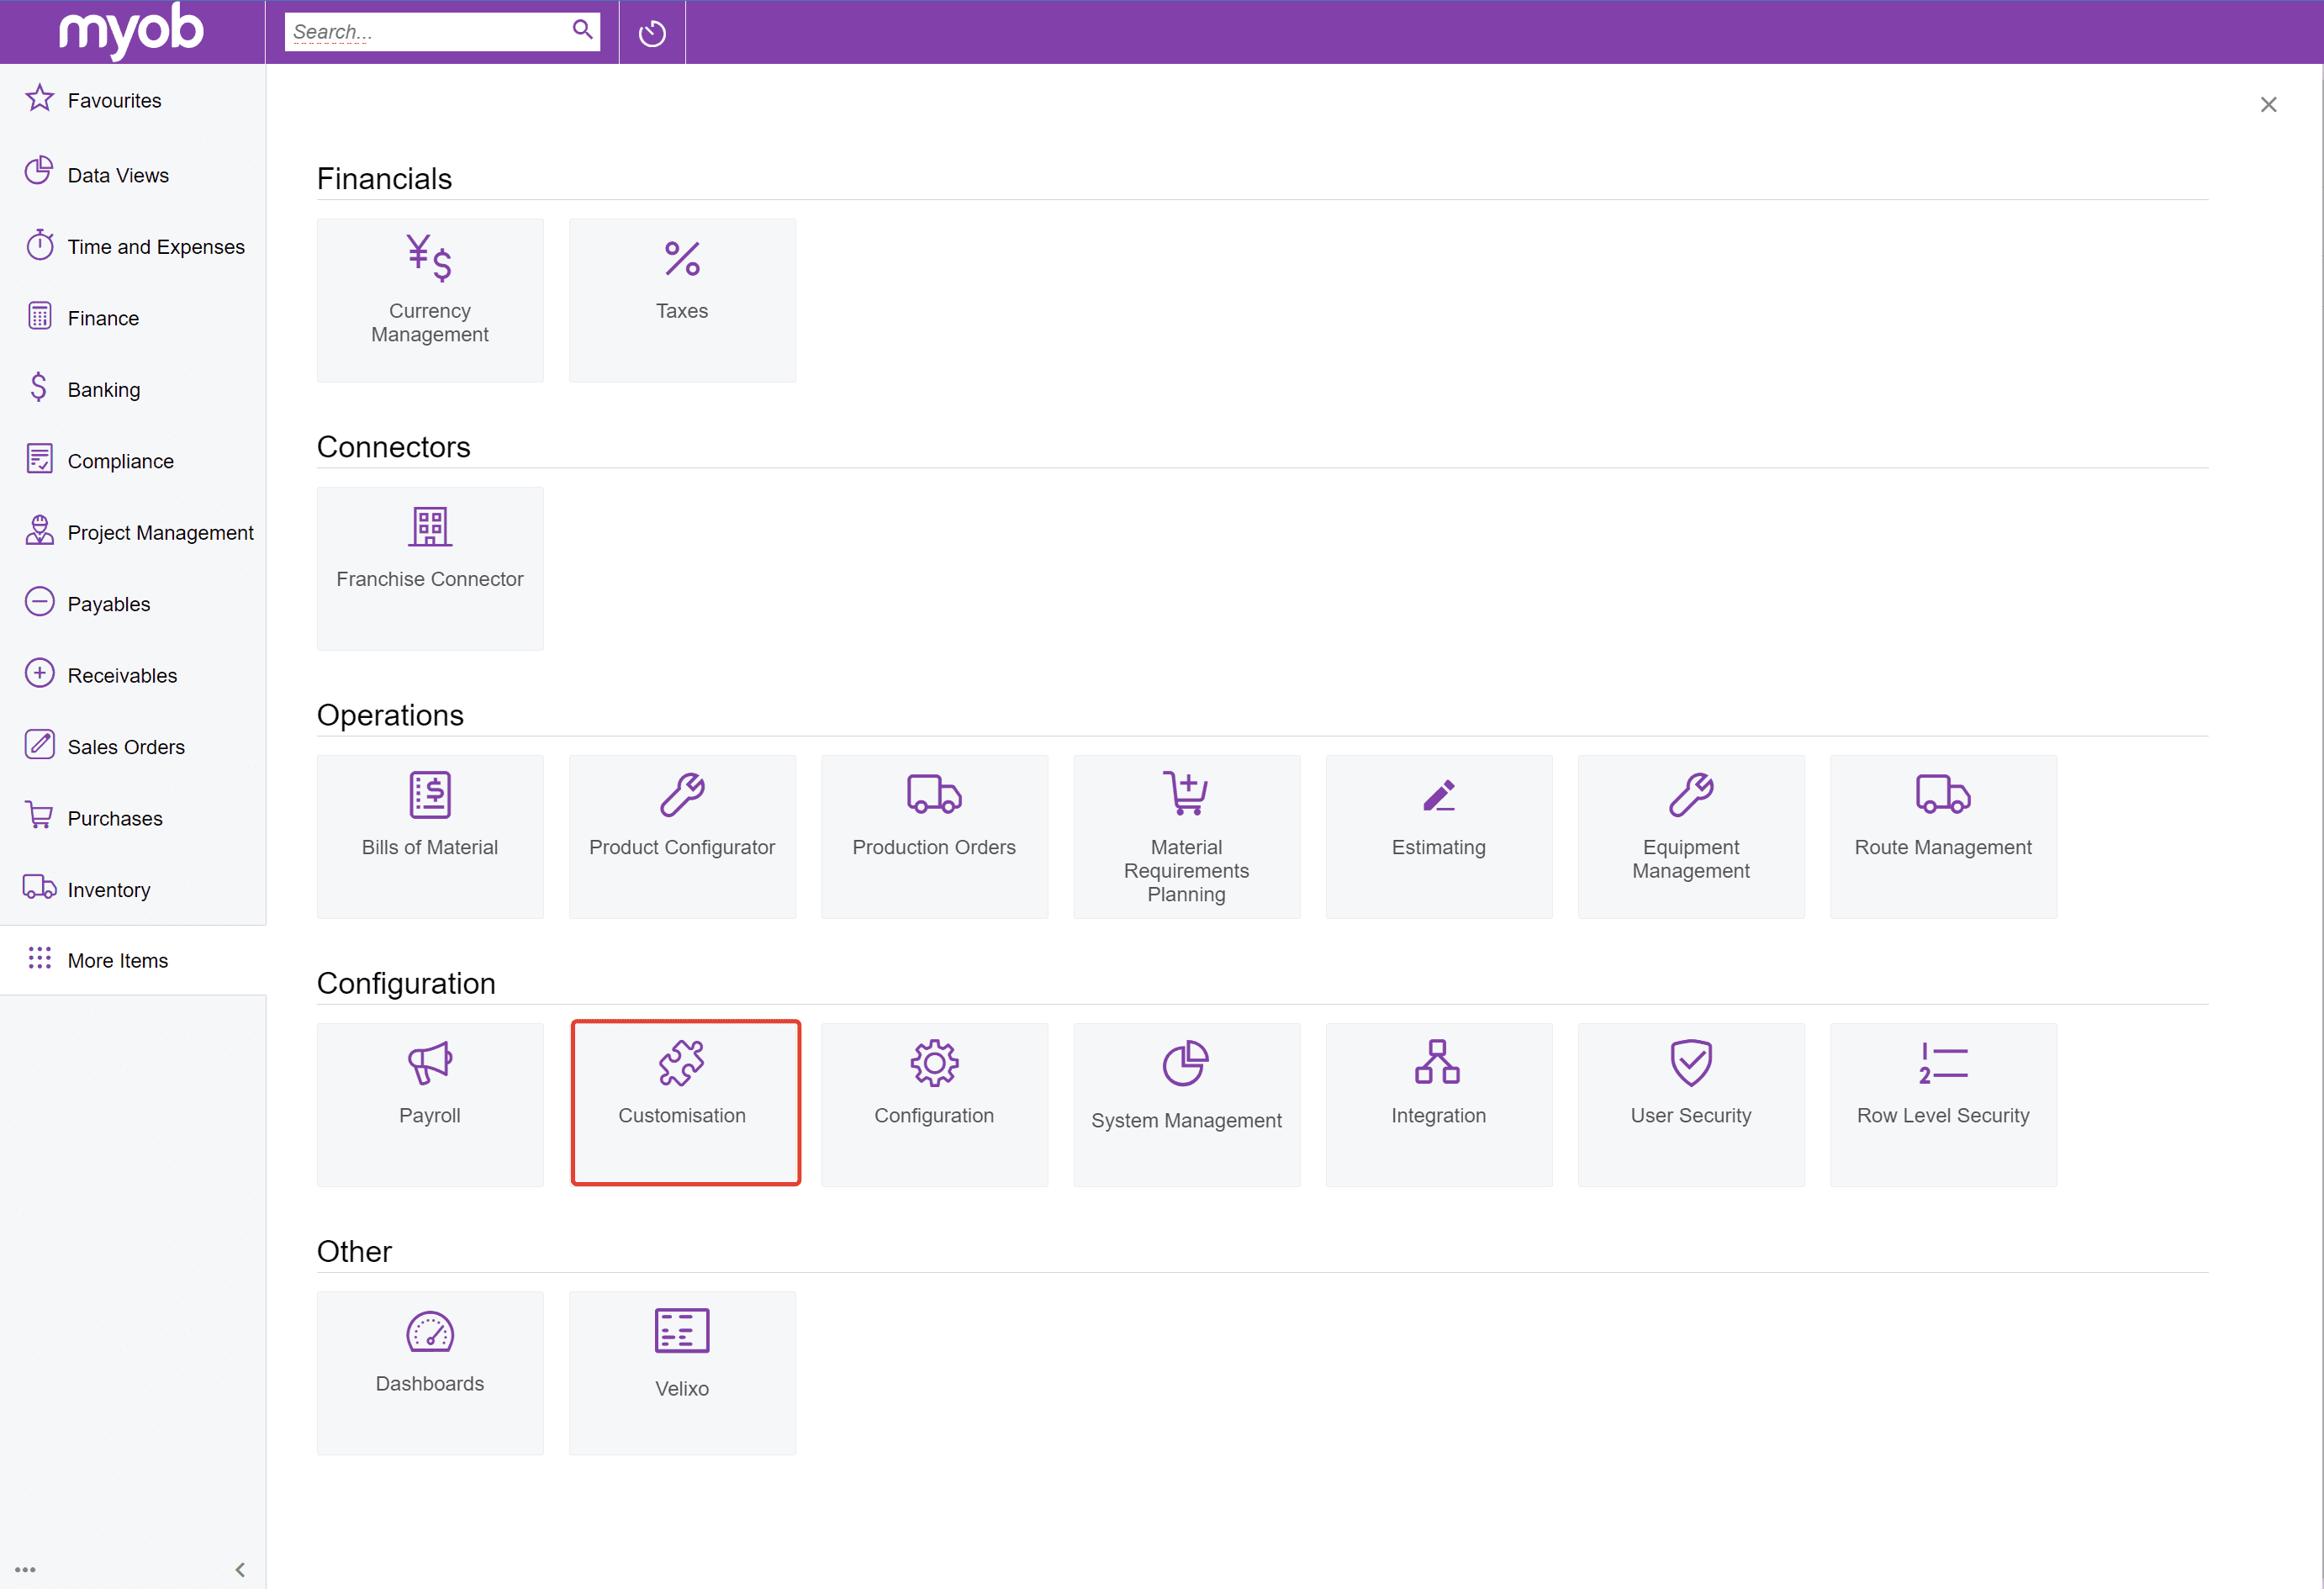
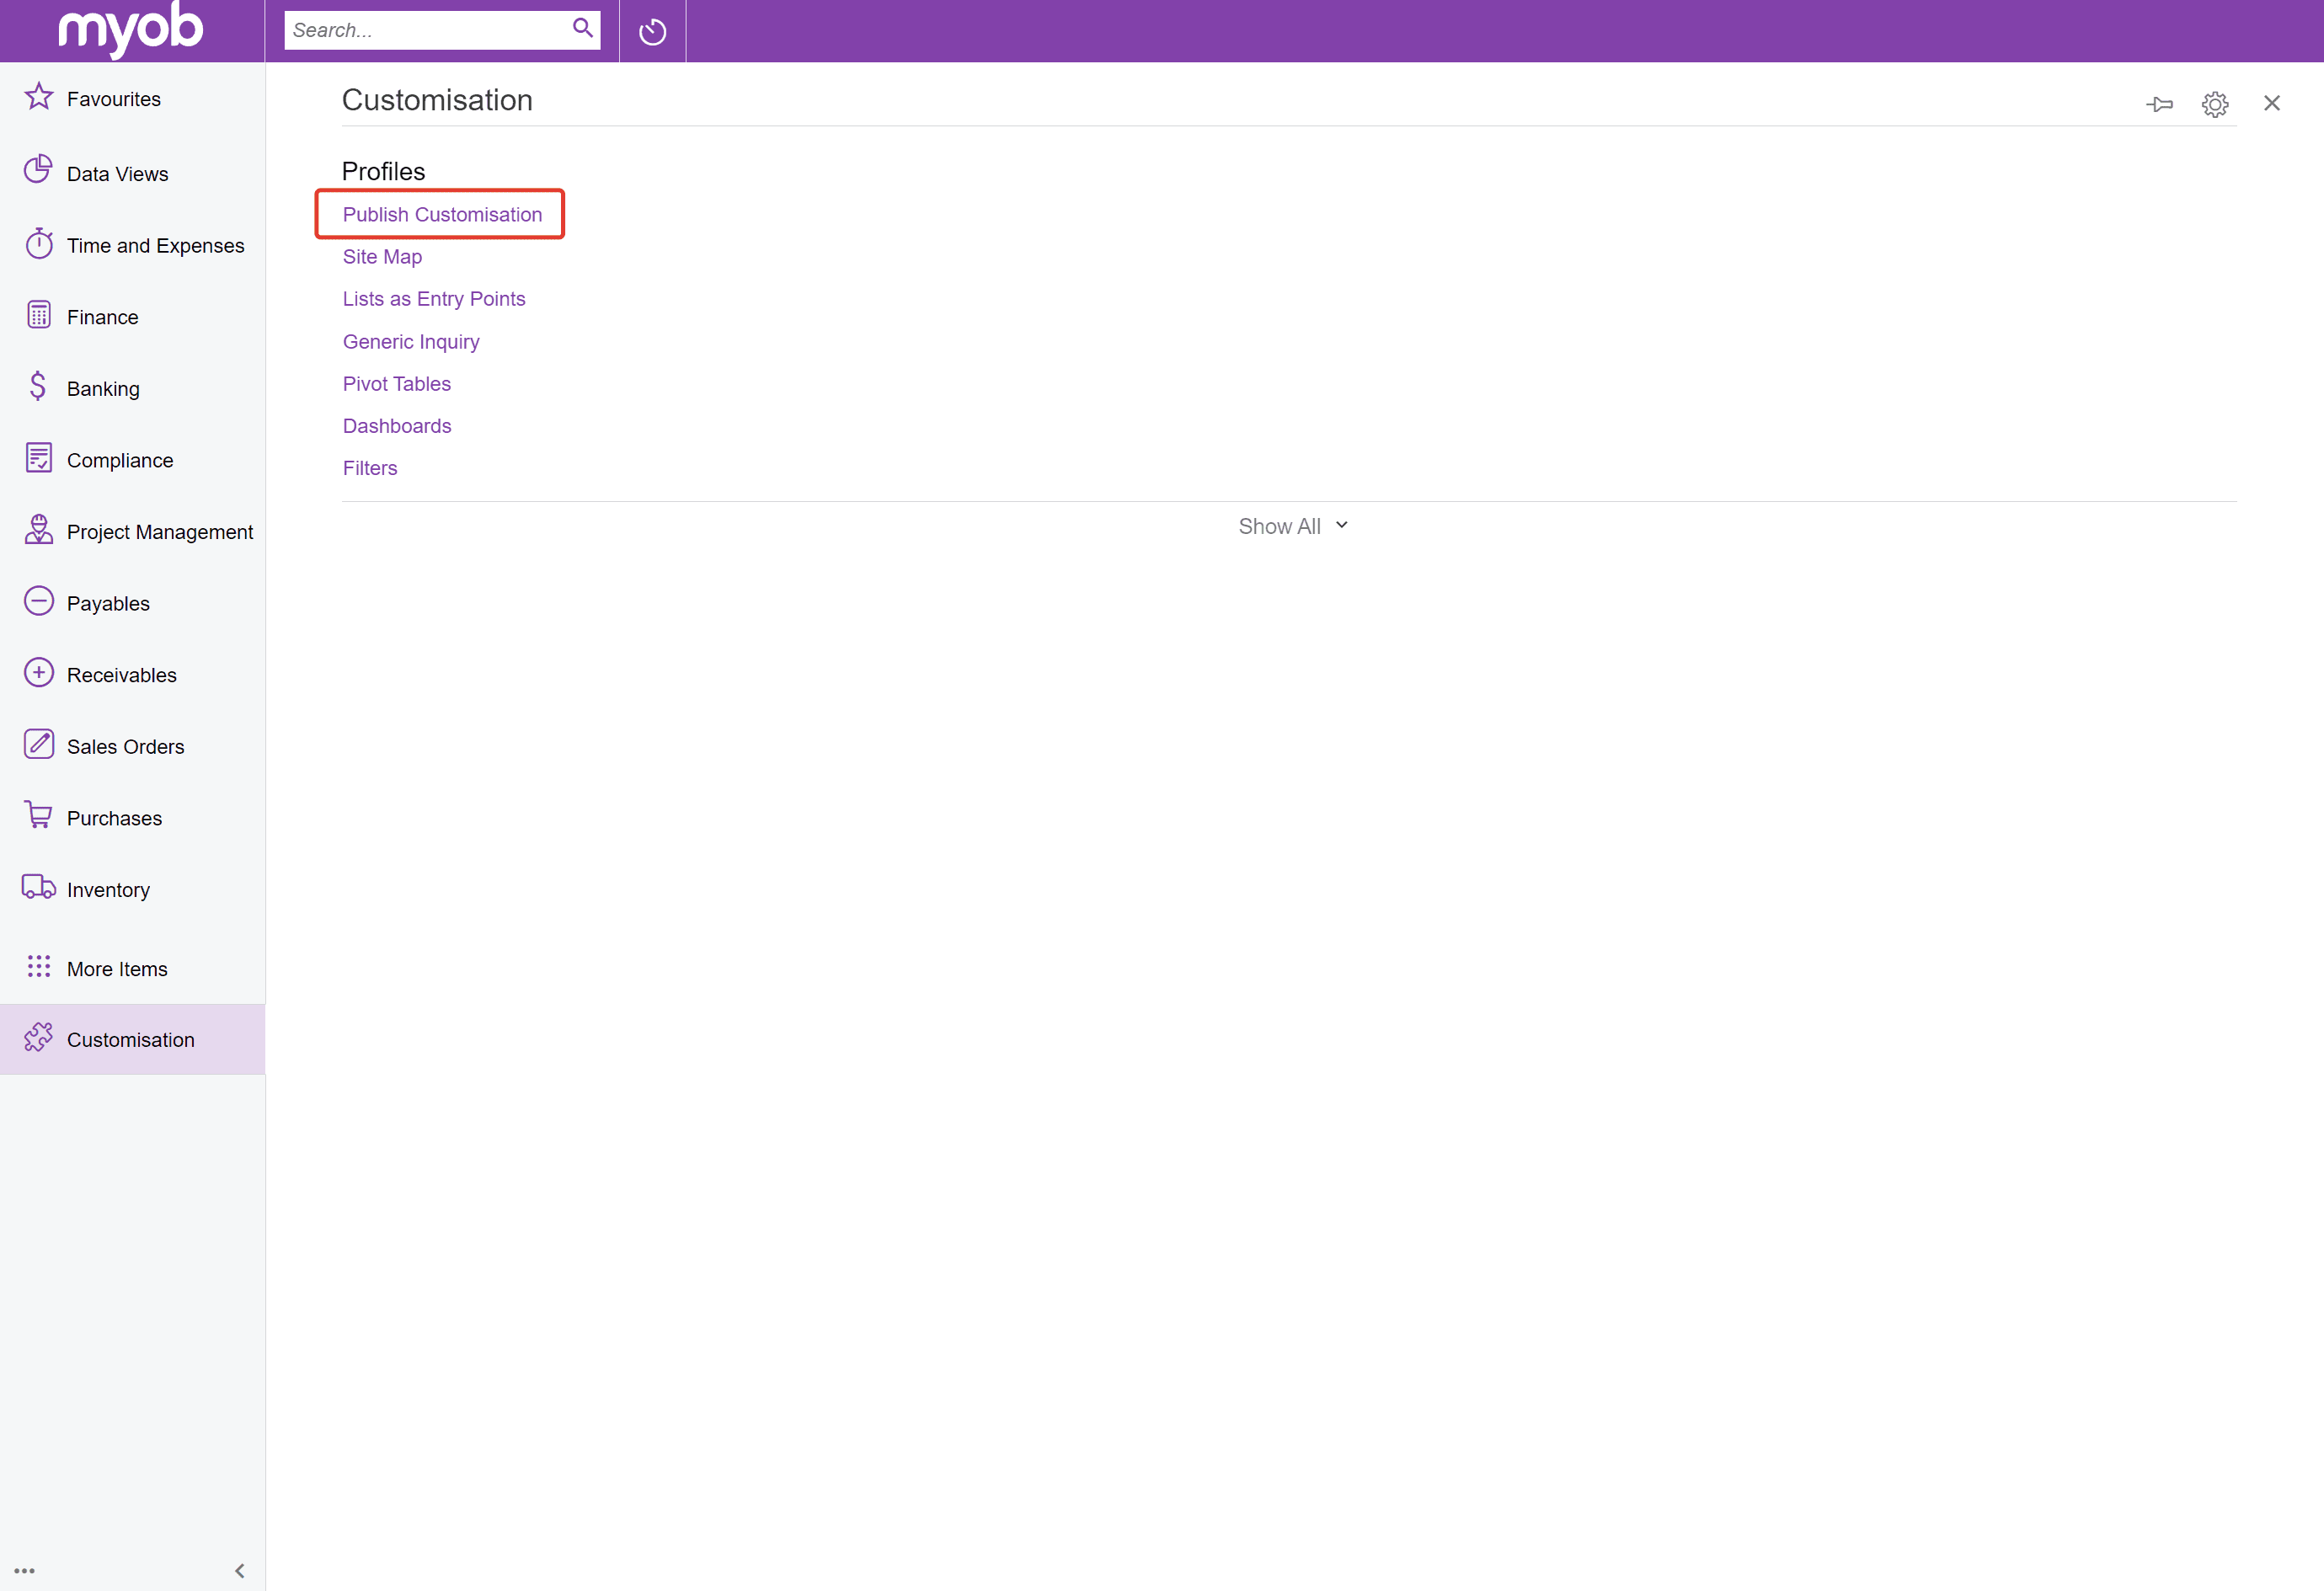
Step 2: Publish Customisation in MYOB Acumatica
Go to Customisation -> Publish Customisation screen in your MYOB Acumatica.
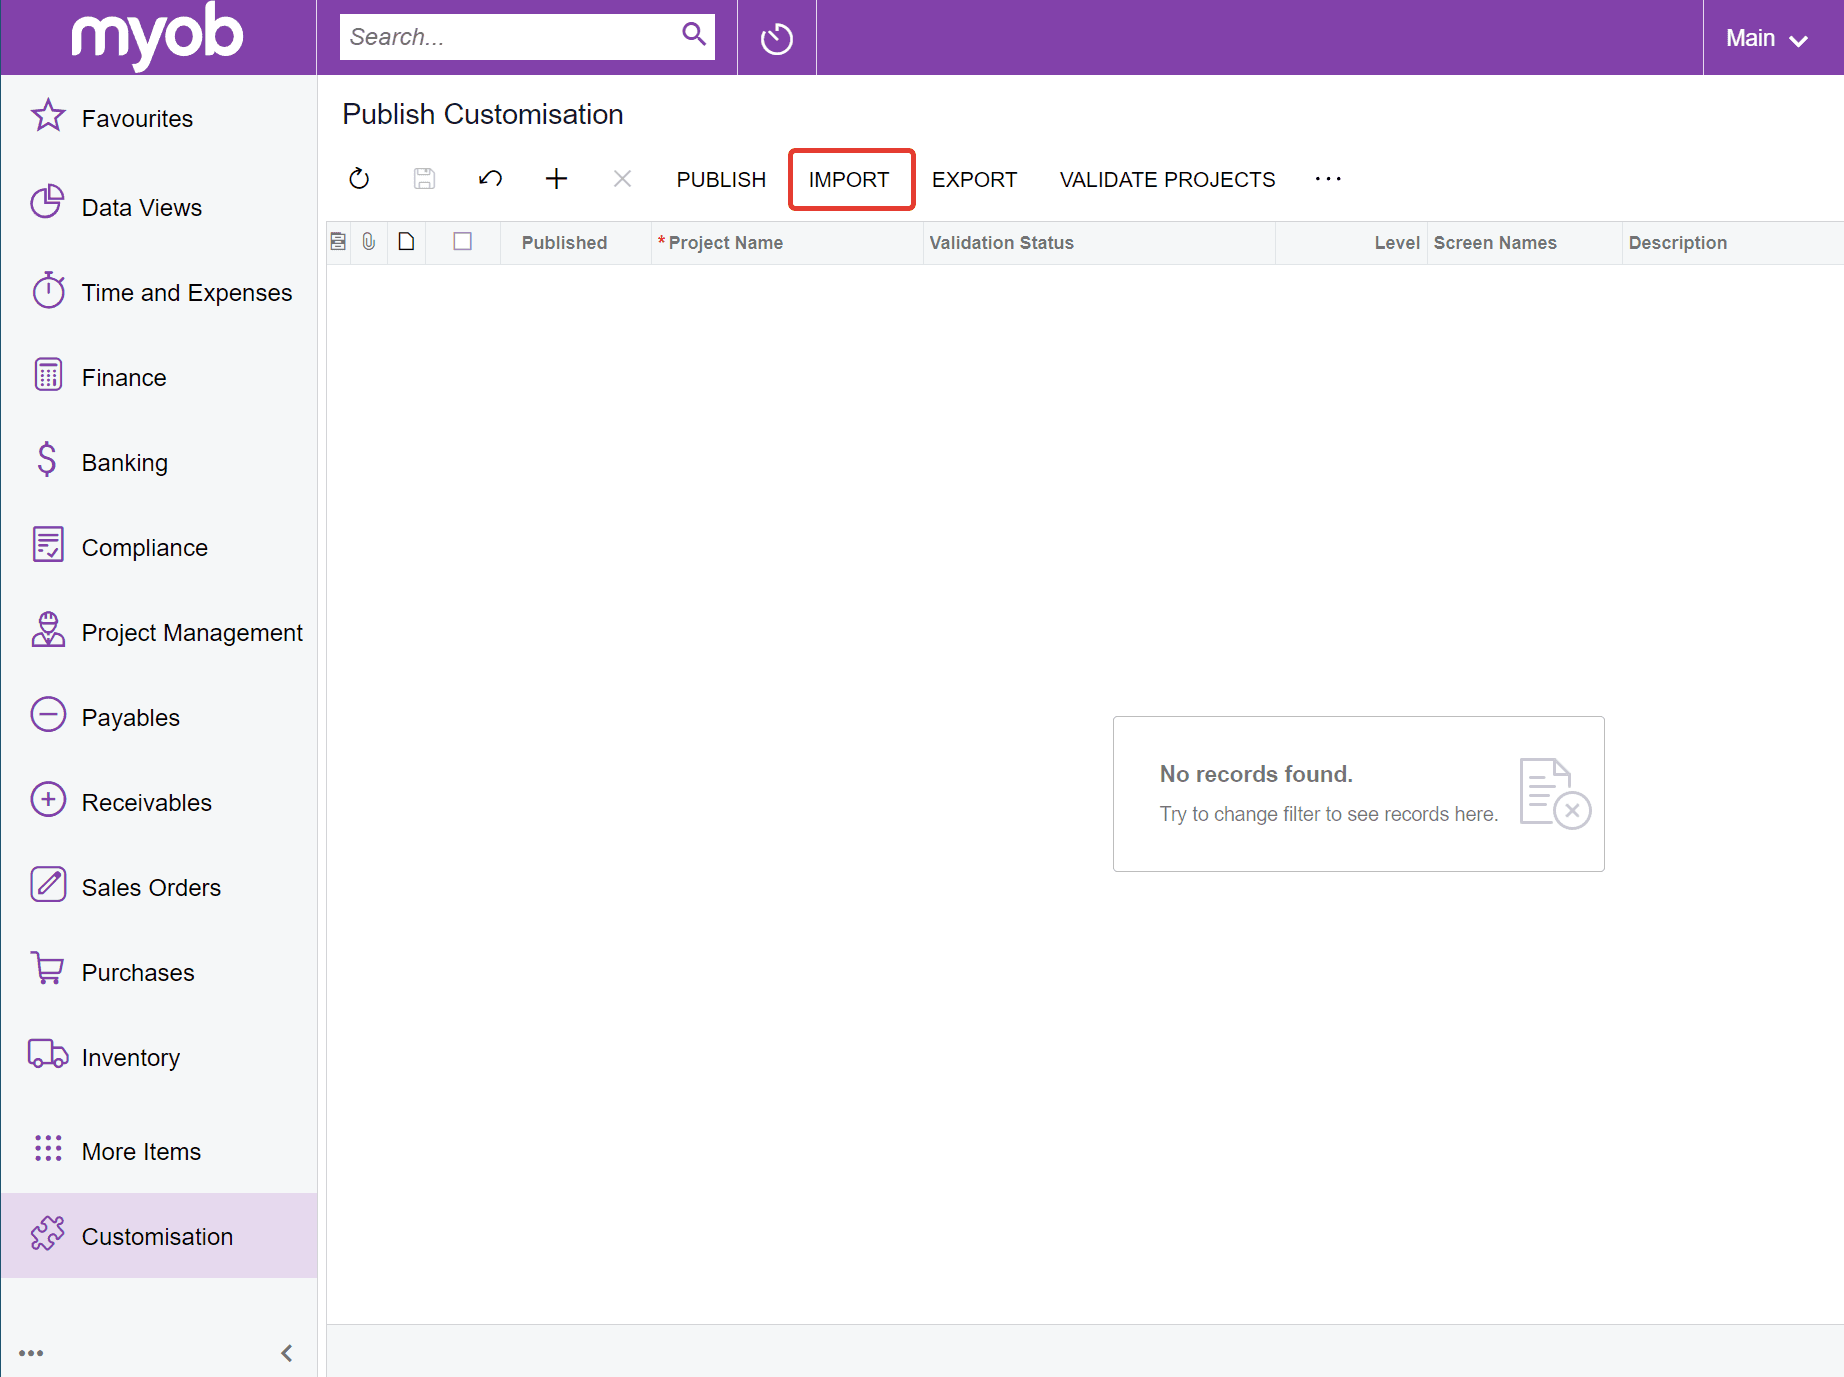
Step 3: Import the Customisation Package
Click the IMPORT button.
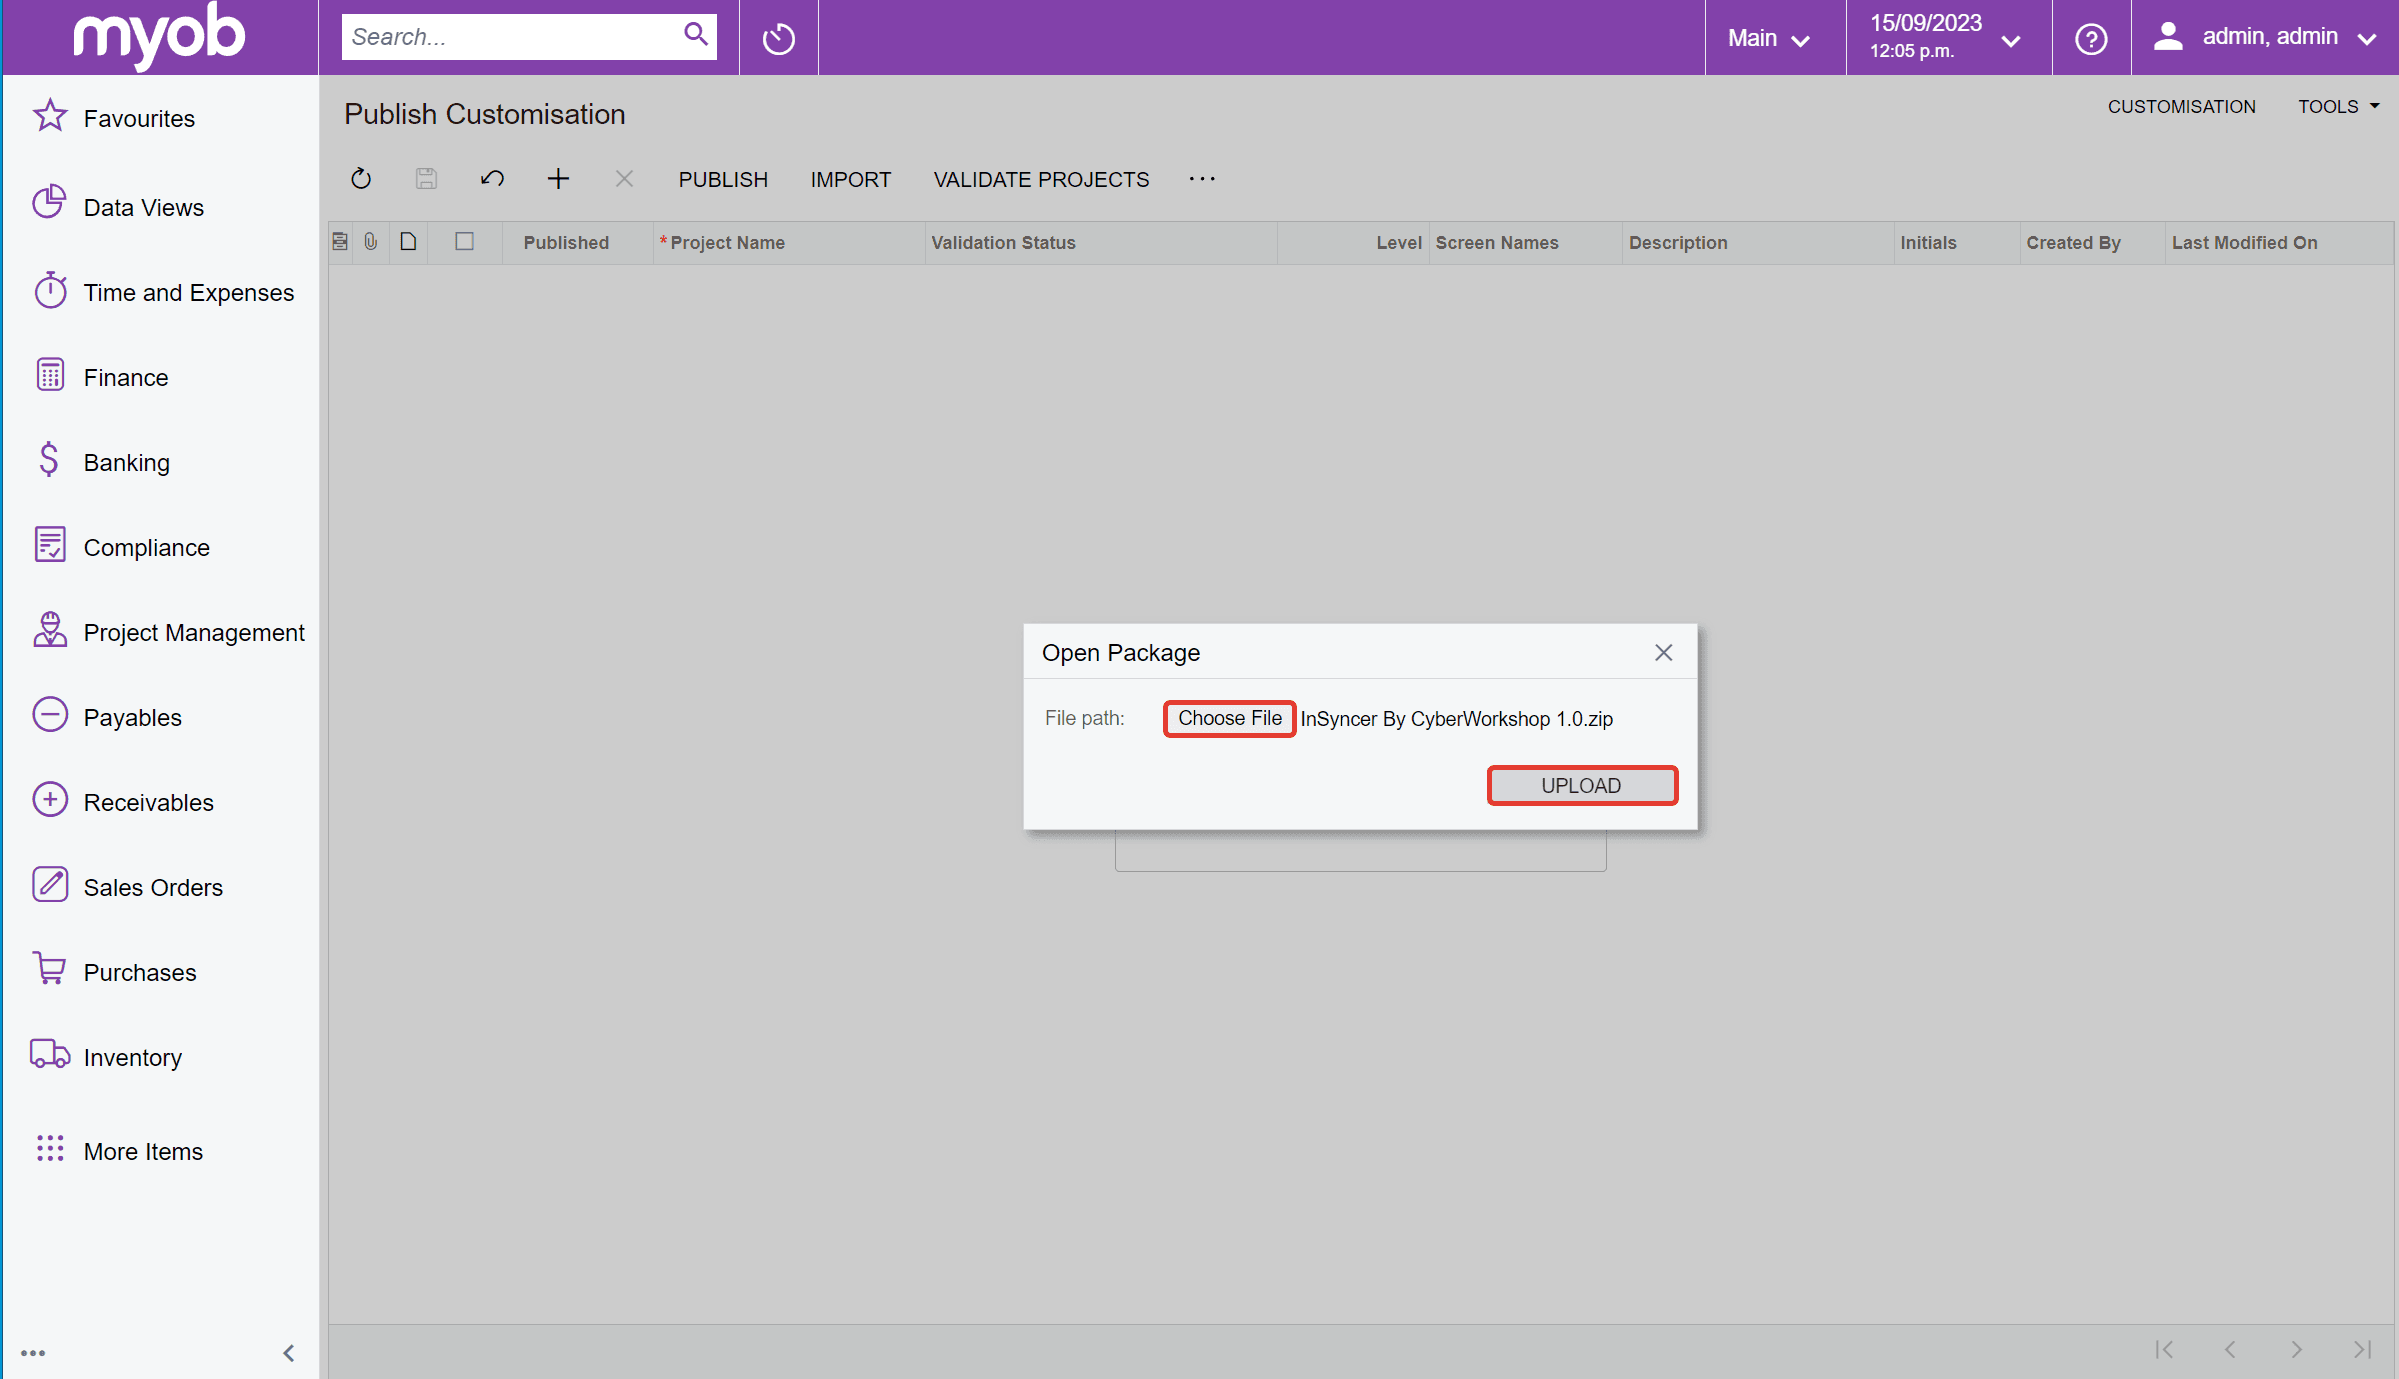
Step 4: Upload the Package
Click the Choose file button and select the downloaded ZIP archive in the pop-up. Click the UPLOAD button to upload the package to your MYOB Acumatica.
Step 5: Validate the Project
Once uploaded, you should see the package in the list of customisations. Select the package and click the VALIDATE PROJECT button.
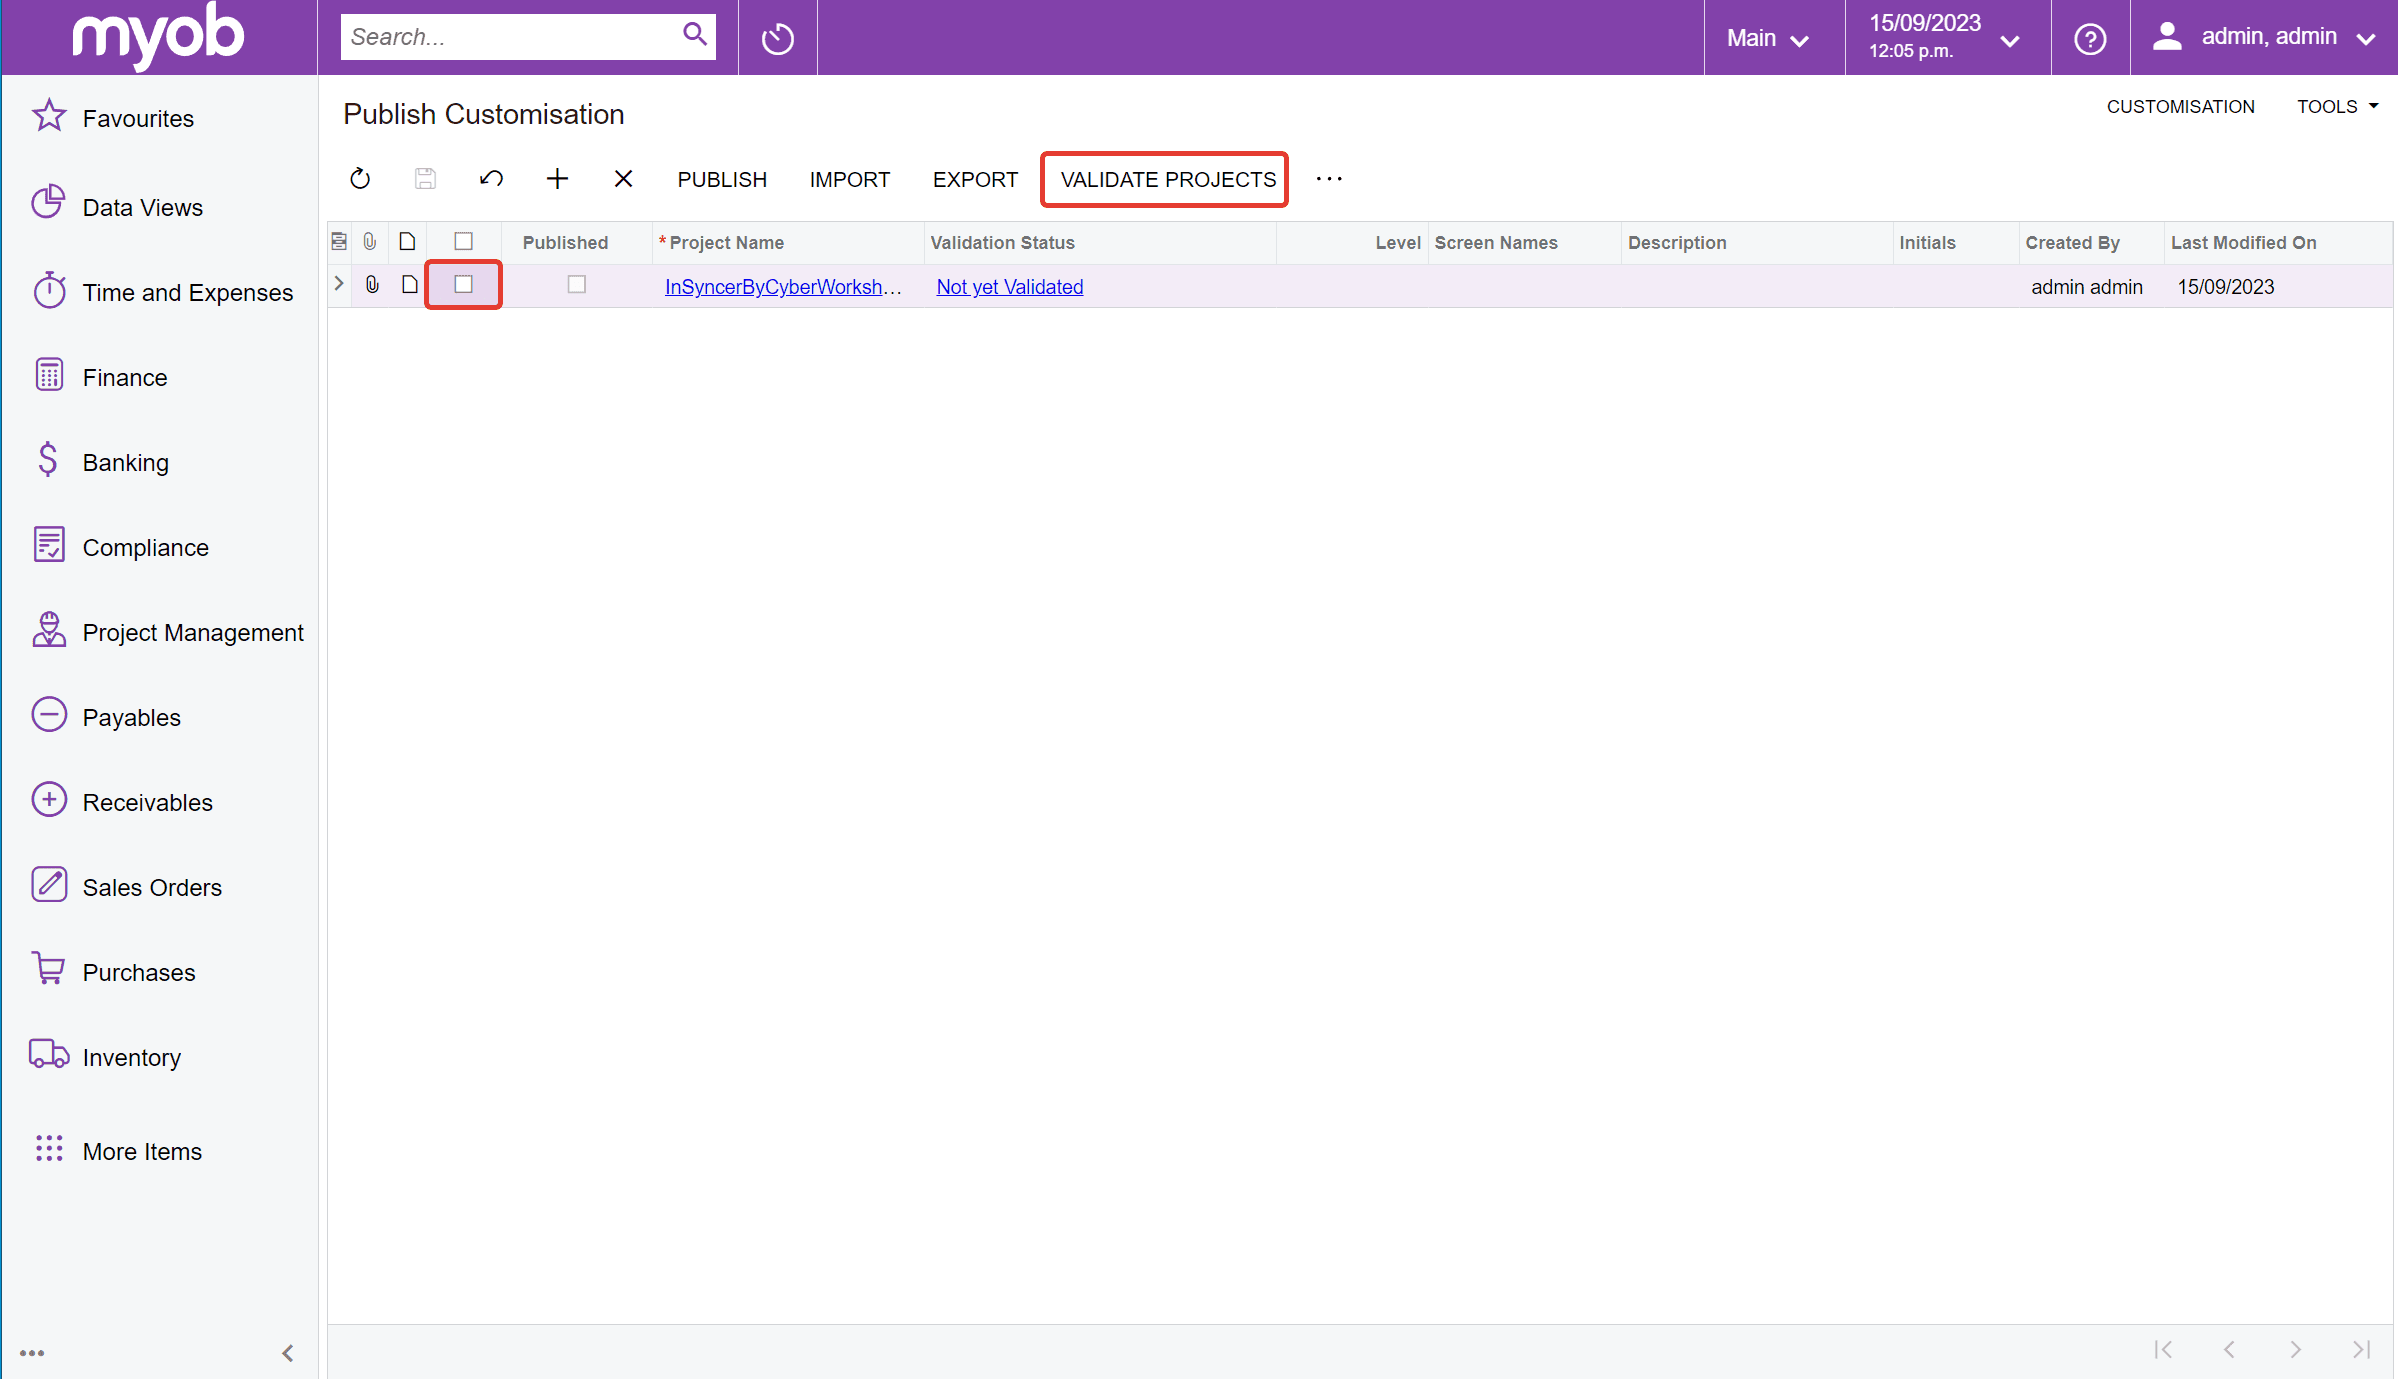
Step 6: Verify Validation Status
When validated successfully, the status should change to Passed in the Validation status column.

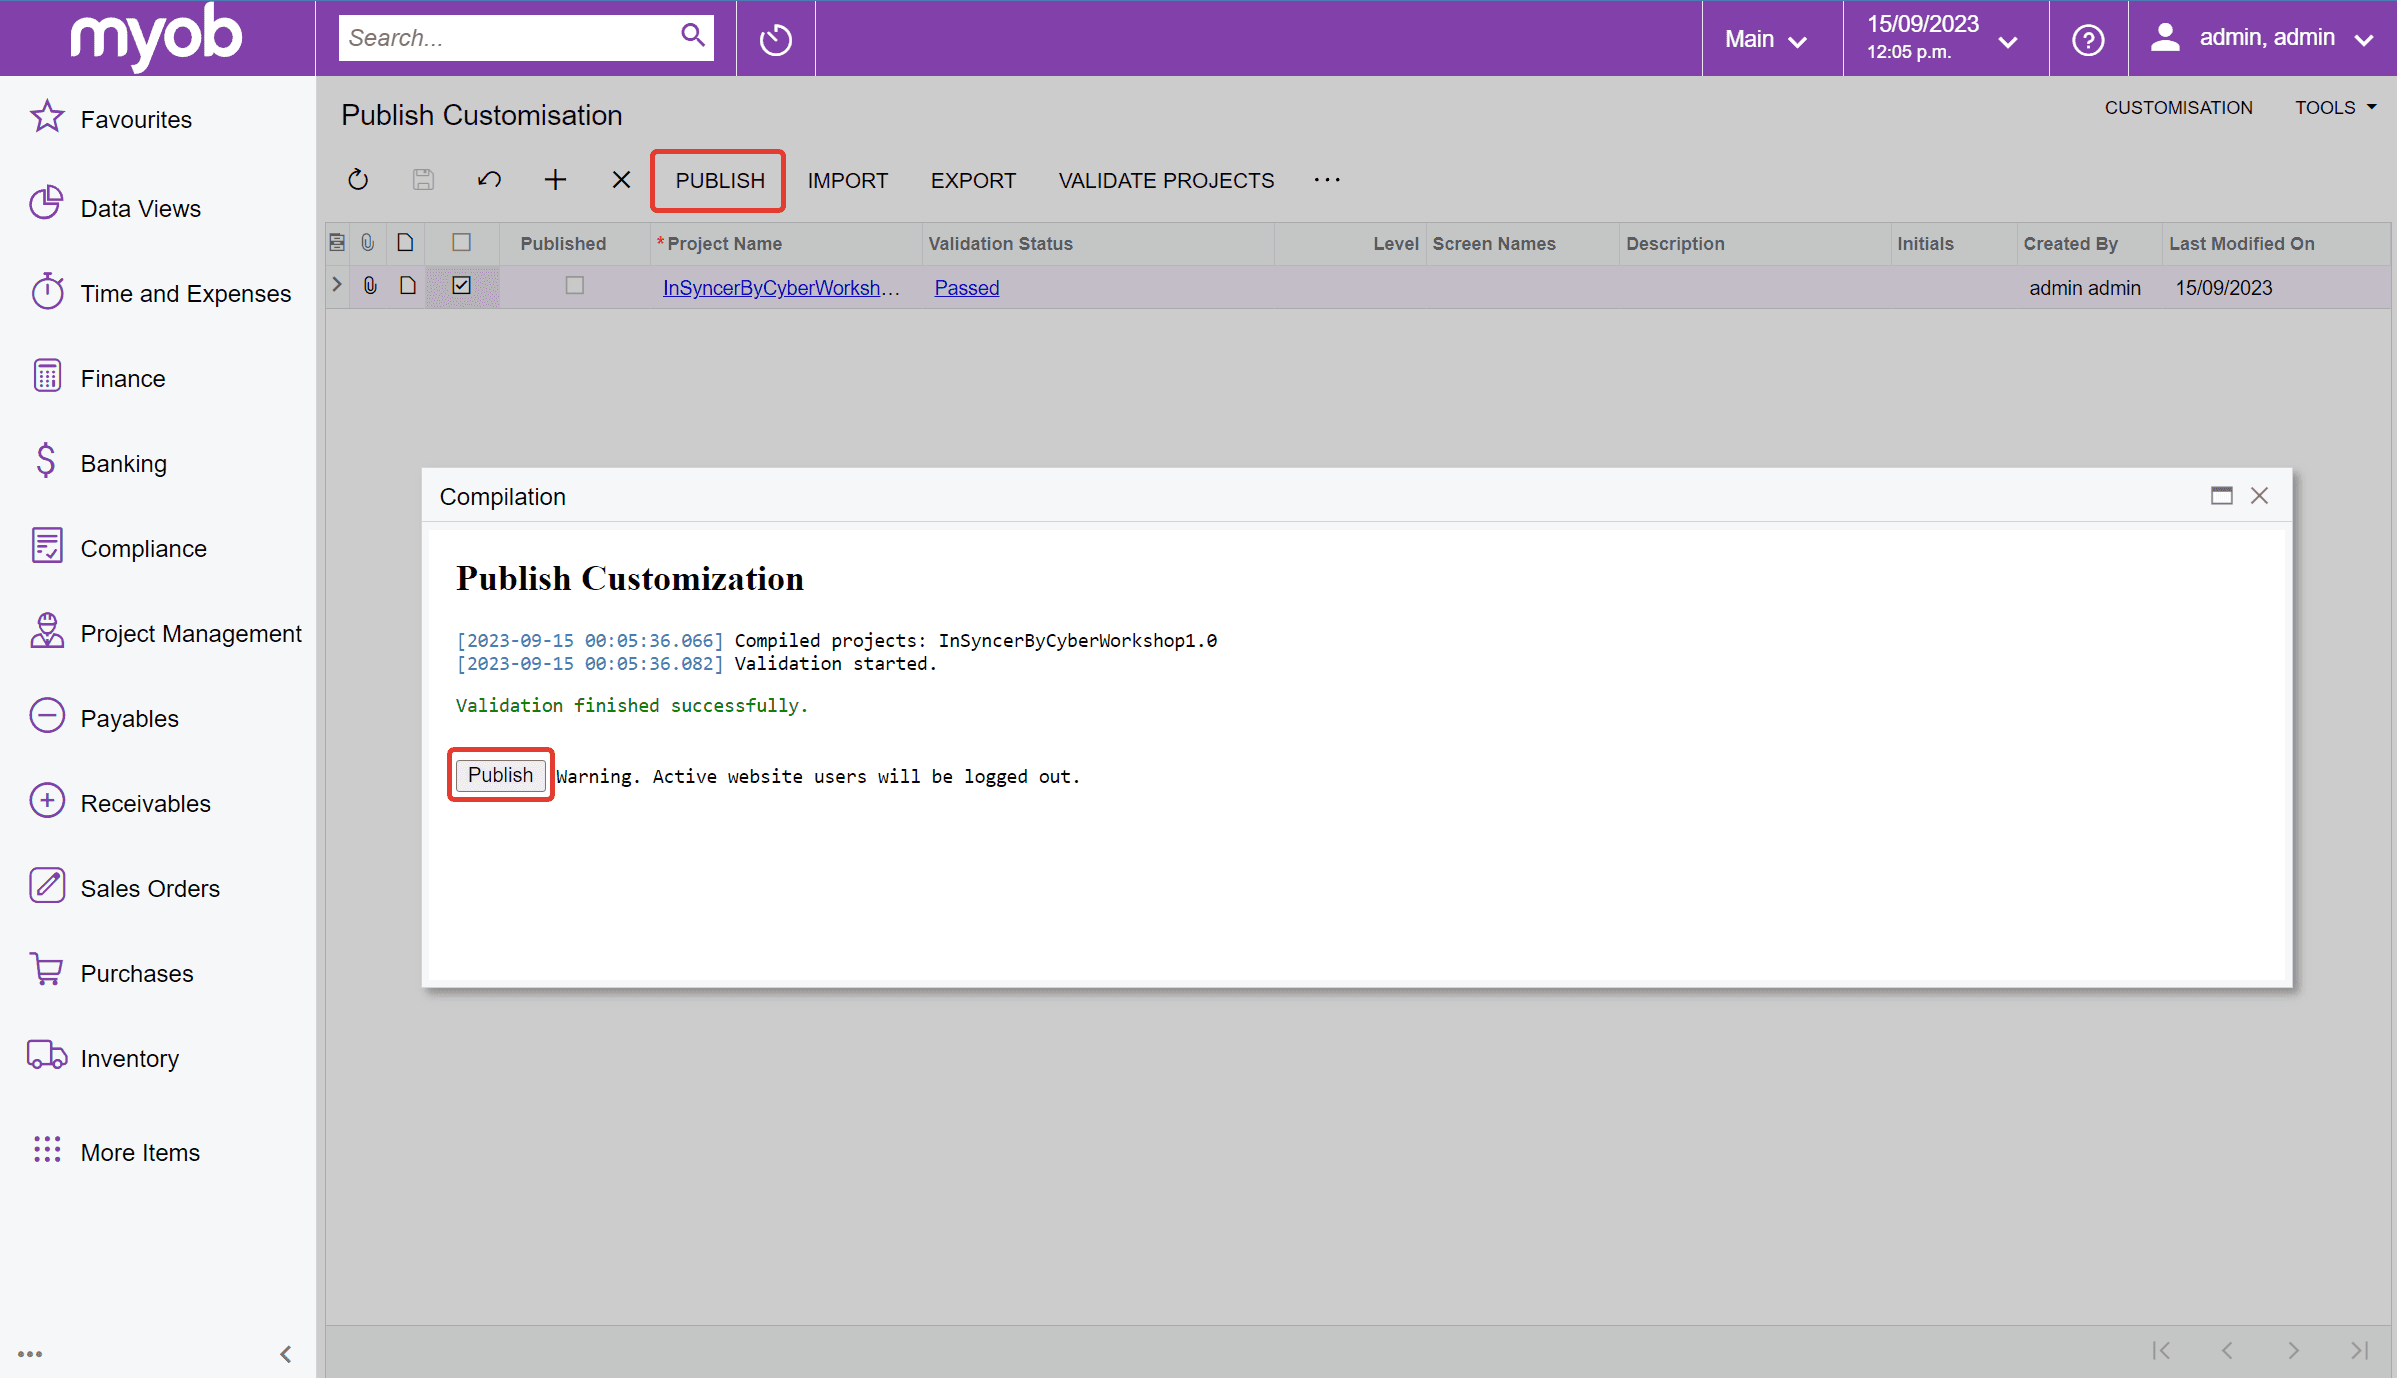
Step 7: Publish the Project
Select the project again in the list and then click the PUBLISH button at the top of the table. A pop-up will appear with another Publish button. Click on it to publish the project.
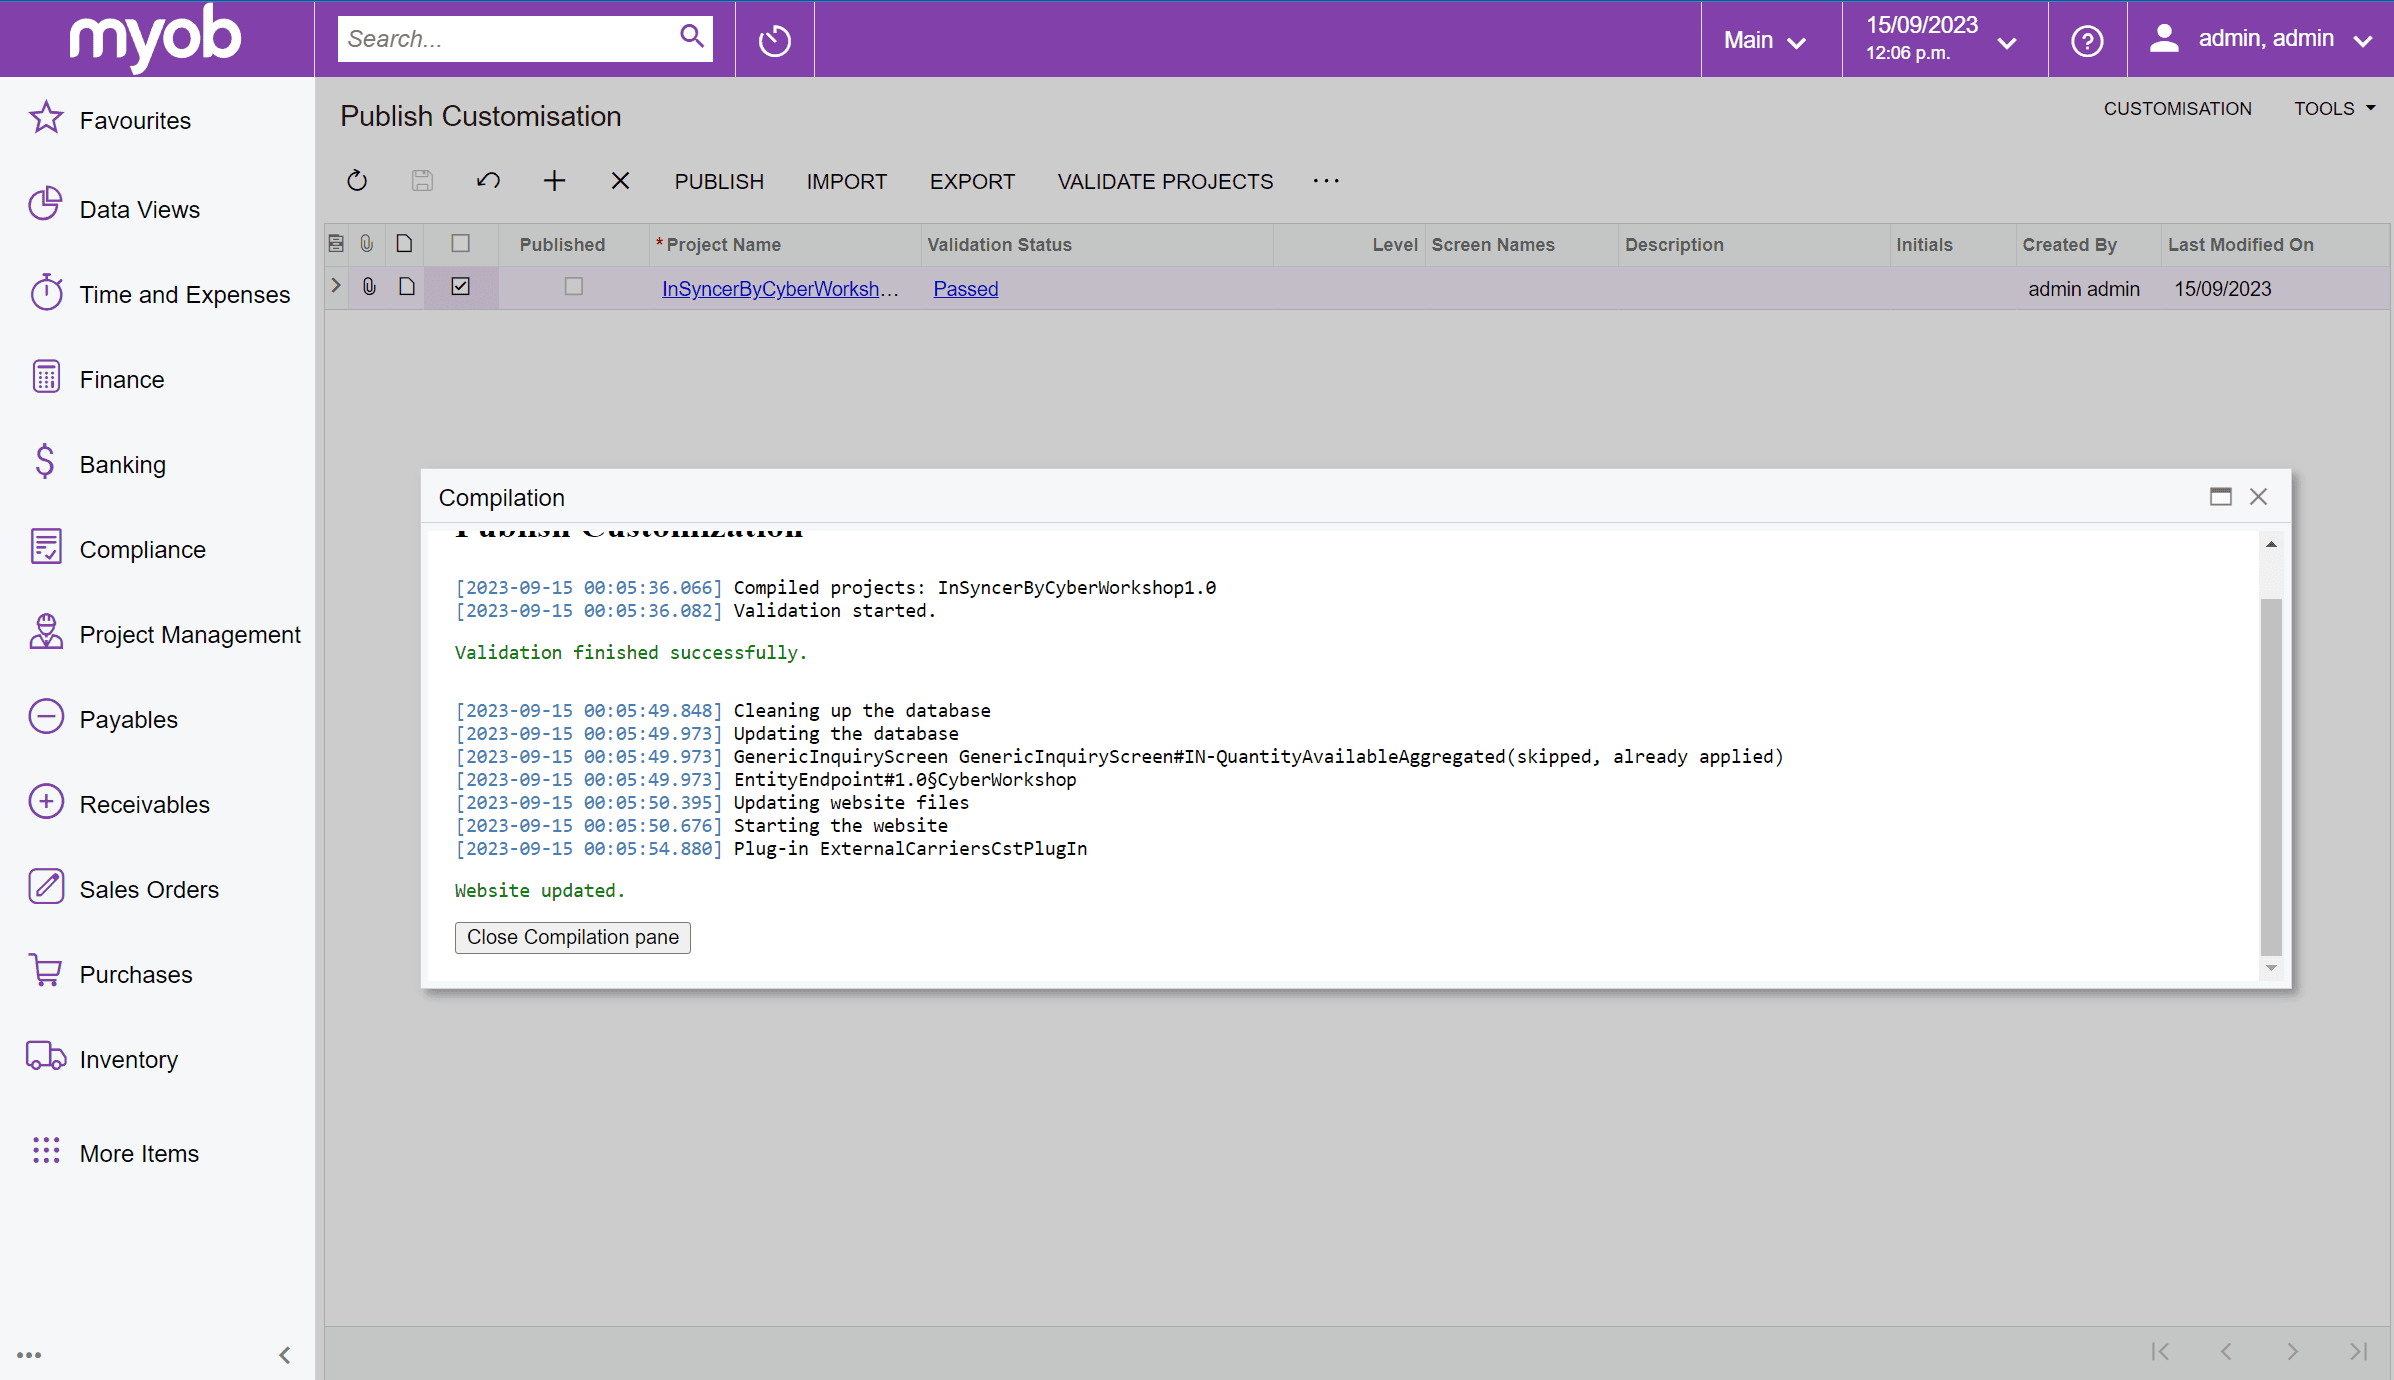
Step 8: Confirmation
Once published, you will see an input similar to the screenshot below.
Step 9: Validate in the App
Go back to the app and click the VALIDATE button. Our app will run a test request to ensure the customisation project was imported correctly and inventory data can be accessed.
Step 10: Enable Inventory Sync
When validation is completed successfully, you'll be able to enable Inventory sync.
If you experience any issues with the installation or have any questions, please contact us at team@cyberworkshop.co.nz.